
Home Theater Setup Guide: Complete Process from Selection to Calibration
Introduction
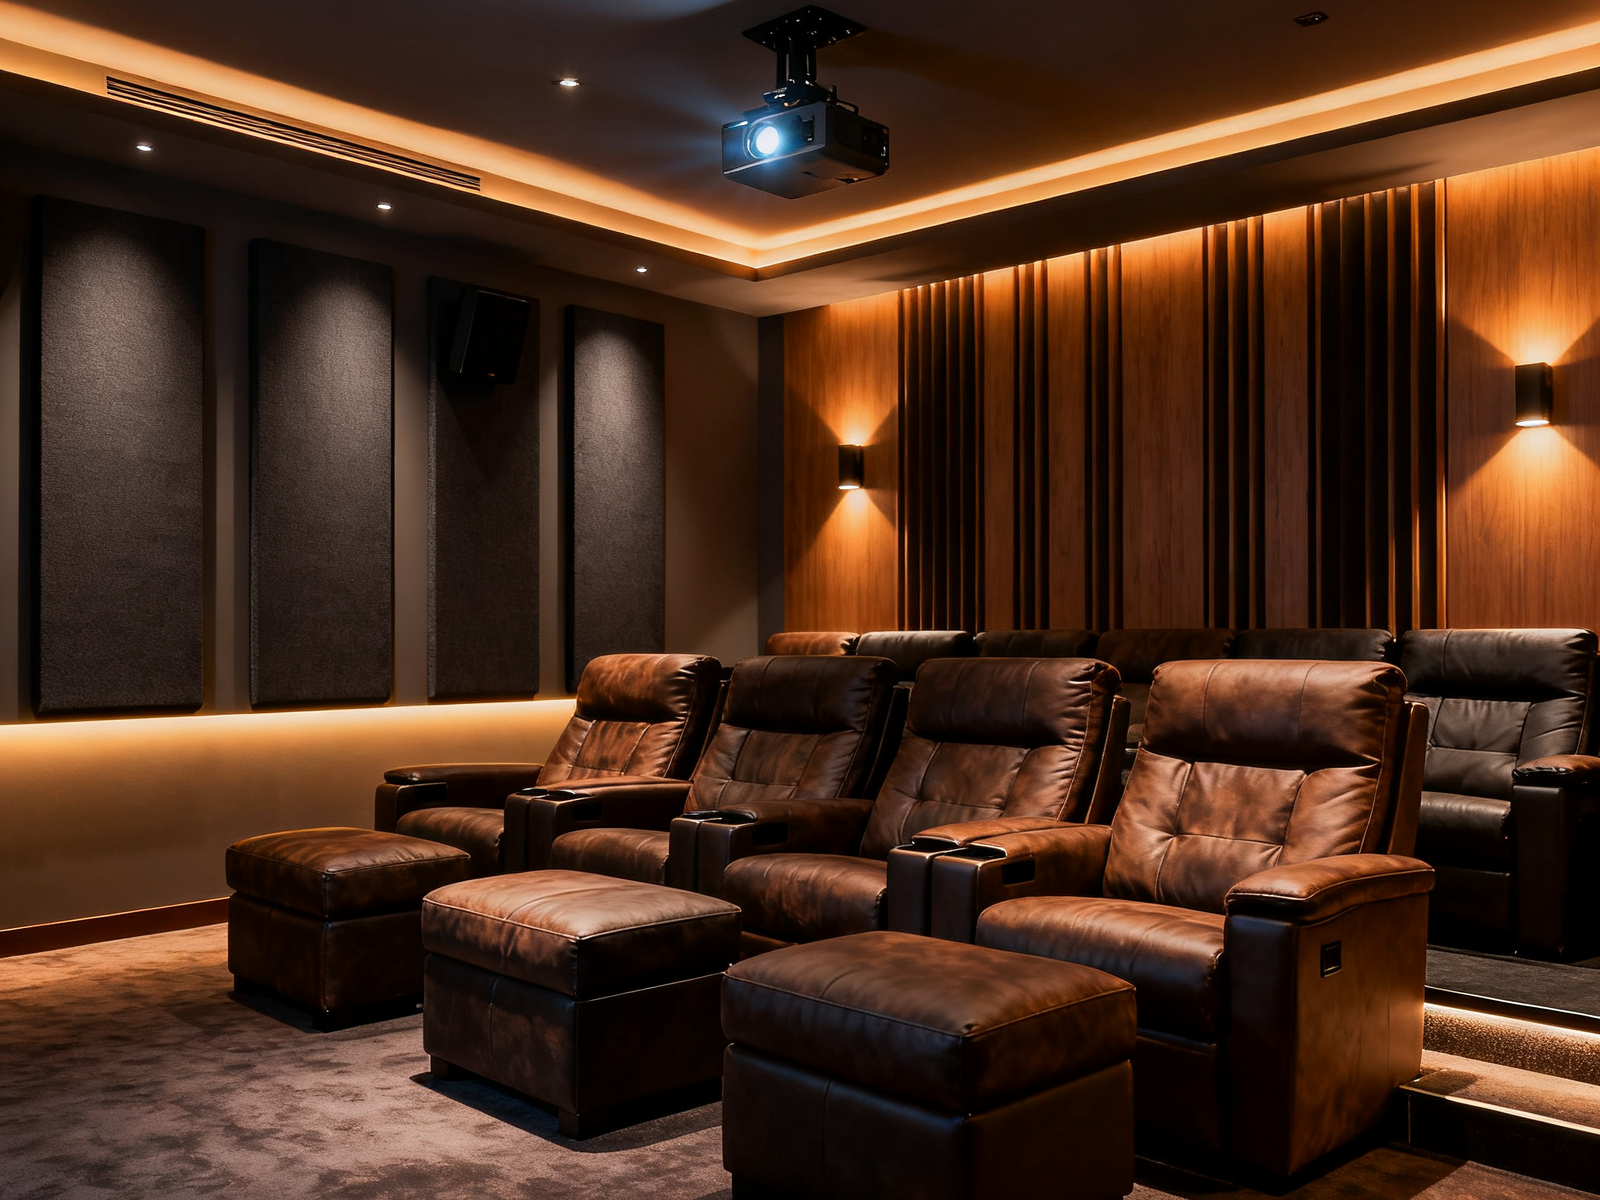
Building a home theater is one of the most rewarding home improvement projects for entertainment enthusiasts. With the right planning, equipment selection, and setup techniques, you can create a cinematic experience that rivals commercial theaters. This comprehensive guide covers everything from initial planning to final calibration.
Planning Your Home Theater Space
Room Selection and Requirements
Ideal Room Characteristics:
- Rectangular shape: Better acoustics and seating arrangement
- Minimal windows: Easier light control
- Adequate ceiling height: 8+ feet for proper projection angles
- Sufficient depth: 12+ feet for optimal viewing distances
Room Size Considerations:
- Small rooms (10×12 feet): 80-100 inch screens
- Medium rooms (12×16 feet): 100-120 inch screens
- Large rooms (16×20+ feet): 120+ inch screens
- Ceiling height: Factor in projector mounting and screen placement
Light Control Strategy
Window Treatments:
- Blackout curtains: Complete light blocking
- Motorized blinds: Convenient automated control
- Light-blocking film: Permanent window treatment
- Room darkening shades: Budget-friendly option
Ambient Light Management:
- Recessed lighting: Dimmable LED fixtures
- Bias lighting: Behind screen for eye comfort
- Pathway lighting: Safety without screen interference
- Smart lighting systems: Automated scene control
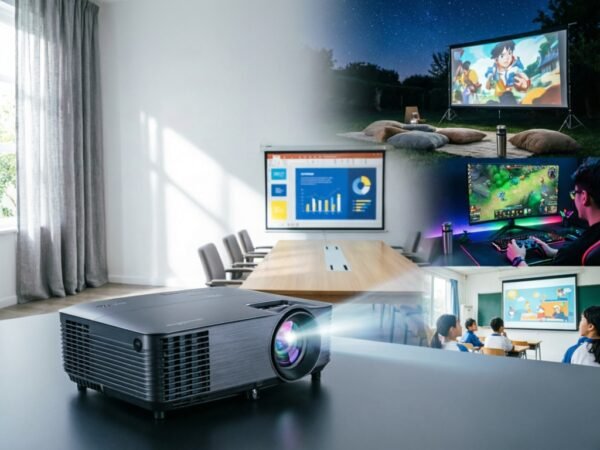
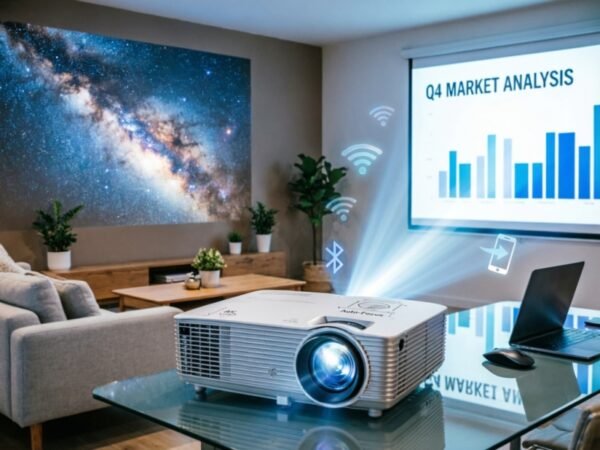
Projector Selection for Home Theater
Key Specifications to Consider
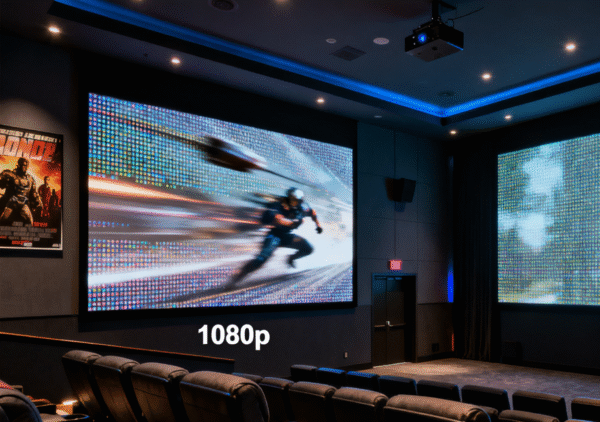
Resolution Requirements:
- 1080p: Sufficient for screens under 120 inches
- 4K: Recommended for 120+ inch screens
- Native vs Enhanced: True 4K provides better detail
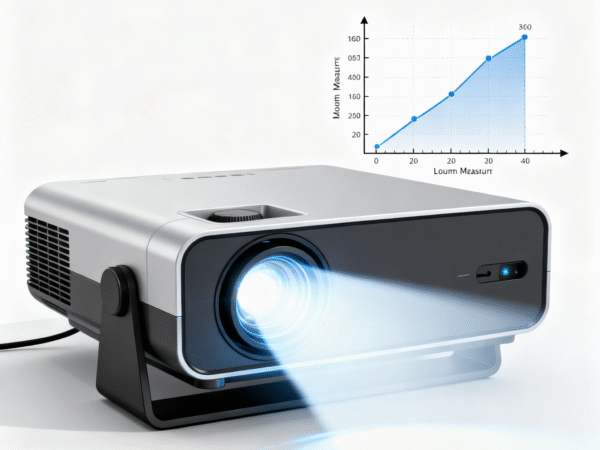
Brightness Needs:
- Dark rooms: 1500-2500 ANSI lumens
- Controlled lighting: 2500-3500 ANSI lumens
- Multi-purpose rooms: 3000+ ANSI lumens
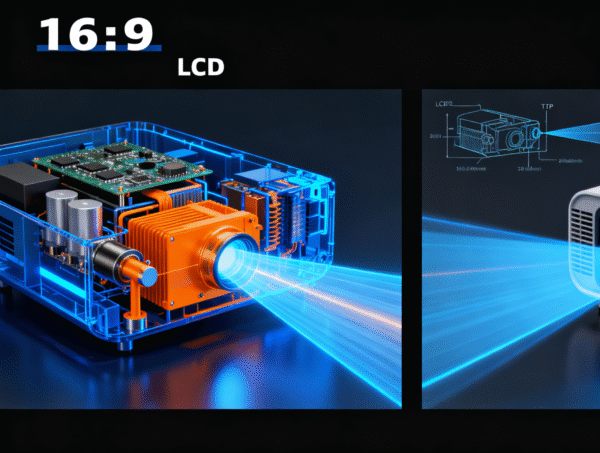
Technology Choice:
- LCD: Better brightness, color accuracy
- DLP: Superior contrast, sharper images
- Laser/LED: Longer lifespan, consistent brightness
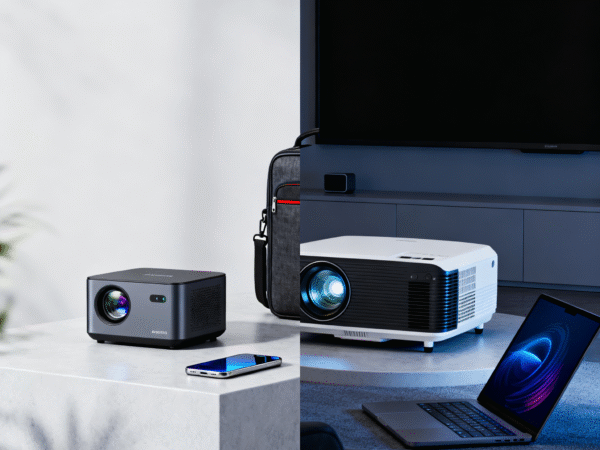
Projector Placement Options
Ceiling Mount (Recommended):
- Advantages: Clean installation, optimal positioning
- Requirements: Proper ceiling support, cable management
- Considerations: Maintenance access, cooling clearance
Shelf/Table Mount:
- Advantages: Easy access, flexible positioning
- Disadvantages: Takes up space, potential obstruction
- Best for: Temporary setups, rental properties
Short-throw Options:
- Ultra-short throw: 6-12 inches from screen
- Short throw: 3-6 feet from screen
- Benefits: Reduced shadows, easier placement
Screen Selection and Installation
Screen Types and Materials
Fixed Frame Screens:
- Advantages: Best image quality, professional appearance
- Materials: Acoustic transparent, high-gain, standard white
- Installation: Permanent wall mounting required
Motorized Screens:
- Advantages: Retractable, room versatility
- Types: Ceiling recessed, wall mounted, floor rising
- Control: RF remote, wall switch, automation integration
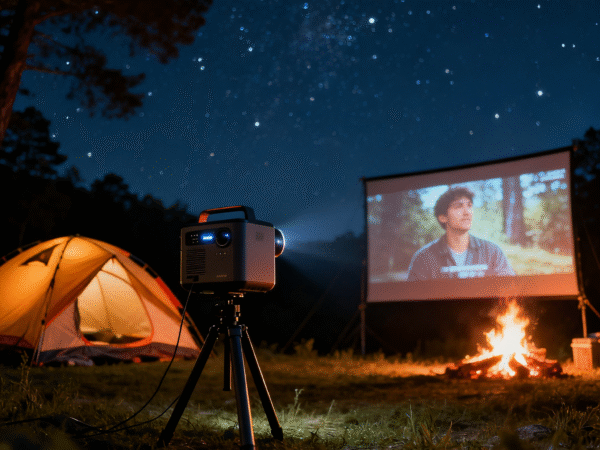
Portable Screens:
- Advantages: Flexible placement, easy storage
- Types: Tripod, inflatable, pull-up
- Best for: Multi-purpose rooms, outdoor use
Screen Size Calculation
Viewing Distance Formula:
- 1080p: Screen width × 1.5 to 2.5
- 4K: Screen width × 1.0 to 1.5
- Example: 120″ screen = 10-15 feet optimal distance
Room Proportion Guidelines:
- Screen width: Should not exceed 30% of room width
- Viewing angle: 30-40 degrees for immersive experience
- Eye level: Center of screen at seated eye level
Audio System Integration
Surround Sound Basics
5.1 System Layout:
- Front left/right: Main stereo pair
- Center channel: Dialogue clarity
- Surround left/right: Ambient effects
- Subwoofer: Low-frequency effects
7.1 and Atmos Expansion:
- Rear surrounds: Enhanced immersion
- Height channels: Three-dimensional audio
- Object-based audio: Dolby Atmos, DTS:X
Speaker Placement Guidelines
Front Speakers:
- Distance: Equal distance from listening position
- Angle: 22-30 degrees from center
- Height: Tweeter at ear level when seated
Surround Speakers:
- Position: 90-110 degrees from center
- Height: 2-3 feet above ear level
- Distance: Slightly closer than front speakers
Audio Equipment Selection
AV Receiver Features:
- HDMI inputs: Sufficient for all sources
- 4K/HDR support: Future-proof connectivity
- Room correction: Automatic calibration
- Power output: Match speaker requirements
Seating and Room Layout
Seating Arrangement
Single Row Setup:
- Distance: Optimal viewing distance from screen
- Spacing: 24-30 inches between seats
- Recline: Consider sight lines to screen
Multiple Row Configuration:
- Row spacing: 36-42 inches between rows
- Height difference: 6-12 inch riser for rear rows
- Sight lines: Ensure unobstructed view
Furniture Selection
Theater Seating:
- Recliners: Comfort for long viewing sessions
- Cup holders: Convenience features
- Storage: Built-in storage for remotes, blankets
- Materials: Easy-to-clean, dark colors
Alternative Seating:
- Sectional sofas: Flexible, family-friendly
- Bean bags: Casual, adjustable
- Floor cushions: Budget-friendly option
Room Acoustics and Treatment
Acoustic Challenges
Common Issues:
- Echo and reverberation: Hard surfaces reflect sound
- Standing waves: Room dimension resonances
- Flutter echo: Parallel wall reflections
- Bass buildup: Corner and wall interactions
Treatment Solutions
Absorption Materials:
- Acoustic panels: Wall-mounted fabric panels
- Carpet and rugs: Floor sound absorption
- Heavy curtains: Window and wall treatment
- Furniture: Natural sound absorption
Diffusion Elements:
- Diffuser panels: Scatter sound reflections
- Bookshelves: Natural diffusion surfaces
- Irregular surfaces: Break up parallel walls
Installation Process
Pre-Installation Preparation
Electrical Requirements:
- Dedicated circuits: Prevent power issues
- Surge protection: Protect expensive equipment
- Cable management: Plan wire routing
- Outlet placement: Convenient equipment access
Structural Considerations:
- Ceiling support: Projector mounting requirements
- Wall reinforcement: Heavy screen mounting
- Ventilation: Equipment cooling needs
- Access panels: Future maintenance
Professional vs DIY Installation
DIY Advantages:
- Cost savings: Labor cost elimination
- Learning experience: Understanding your system
- Flexibility: Work at your own pace
- Customization: Personal preferences
Professional Benefits:
- Expertise: Proper installation techniques
- Warranty: Installation guarantees
- Time savings: Faster completion
- Troubleshooting: Problem resolution
System Calibration and Optimization
Video Calibration
Basic Adjustments:
- Brightness: Proper black level setting
- Contrast: White level optimization
- Color temperature: 6500K standard
- Sharpness: Avoid over-sharpening
Advanced Calibration:
- Color accuracy: Professional calibration tools
- Gamma correction: Proper grayscale tracking
- Color gamut: Wide color space utilization
- HDR optimization: High dynamic range settings
Audio Calibration
Speaker Distance Settings:
- Measure precisely: Tape measure accuracy
- Account for delays: Digital processing time
- Subwoofer phase: Proper integration
- Level matching: SPL meter measurements
Room Correction:
- Automatic systems: Audyssey, YPAO, MCACC
- Manual adjustment: Fine-tuning corrections
- Frequency response: EQ adjustments
- Crossover settings: Speaker integration
Smart Home Integration
Automation Possibilities
Lighting Control:
- Scene programming: Movie, intermission, cleanup
- Automatic dimming: Content-based adjustment
- Pathway lighting: Safety illumination
- Color temperature: Circadian rhythm support
Climate Control:
- Temperature scheduling: Pre-cooling before use
- Humidity management: Equipment protection
- Air circulation: Quiet operation during movies
- Energy efficiency: Automated setbacks
Control Systems
Universal Remotes:
- Activity-based: Single button operation
- Device consolidation: Reduce remote clutter
- Macro programming: Complex command sequences
- Learning capability: Custom device support
Smart Home Platforms:
- Voice control: Alexa, Google, Siri integration
- Mobile apps: Smartphone control
- Automation triggers: Time, occupancy, content-based
- Integration: Whole-home system coordination
Maintenance and Upgrades
Regular Maintenance Tasks
Projector Care:
- Filter cleaning: Monthly dust removal
- Lamp replacement: Monitor usage hours
- Lens cleaning: Gentle cleaning techniques
- Ventilation: Ensure proper airflow
Audio System Maintenance:
- Speaker cleaning: Dust removal
- Connection inspection: Corrosion prevention
- Calibration verification: Annual checks
- Firmware updates: Latest features and fixes
Future Upgrade Paths
Technology Evolution:
- 8K projection: Future resolution standards
- Laser projectors: Improved brightness and longevity
- Immersive audio: Atmos and DTS:X expansion
- Streaming integration: Built-in smart features
Budget Planning and Cost Management
Budget Categories
Essential Components (60-70% of budget):
- Projector: Primary image source
- Screen: Image quality foundation
- Audio system: Immersive sound experience
- Seating: Comfort and functionality
Installation and Setup (15-20% of budget):
- Professional installation: If required
- Cables and accessories: Quality connections
- Mounting hardware: Proper support systems
- Calibration tools: Optimization equipment
Room Treatment (10-15% of budget):
- Acoustic treatment: Sound optimization
- Light control: Blackout solutions
- Decor and finishing: Aesthetic appeal
- Climate control: Comfort systems
Cost-Saving Strategies
Phased Implementation:
- Start basic: Essential components first
- Upgrade gradually: Spread costs over time
- Prioritize impact: Biggest improvements first
- Plan compatibility: Future upgrade paths
Conclusion
Creating the perfect home theater requires careful planning, quality equipment selection, and proper installation. While the process may seem overwhelming, breaking it down into manageable phases makes it achievable for most homeowners.
Remember that a home theater is a long-term investment in your family’s entertainment experience. Focus on quality components that will provide years of enjoyment, and don’t hesitate to seek professional help for complex installations.
The key to success is balancing your budget, space constraints, and performance goals. Start with a solid foundation and build upon it over time. With patience and proper planning, you’ll create a home theater that provides countless hours of cinematic enjoyment.
For detailed product reviews and installation guides, explore our comprehensive home theater resource library.
